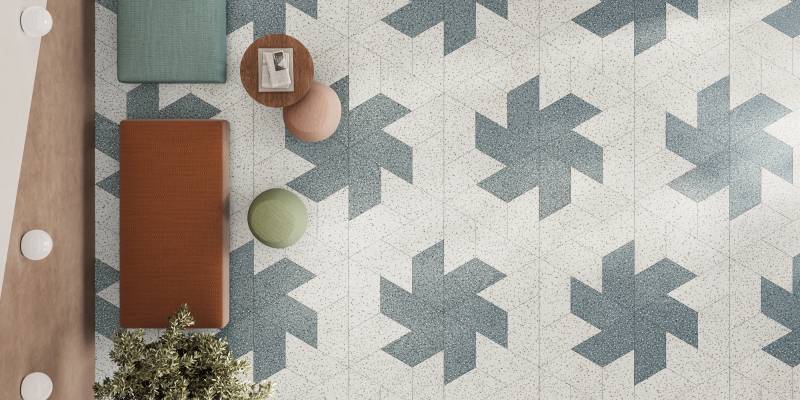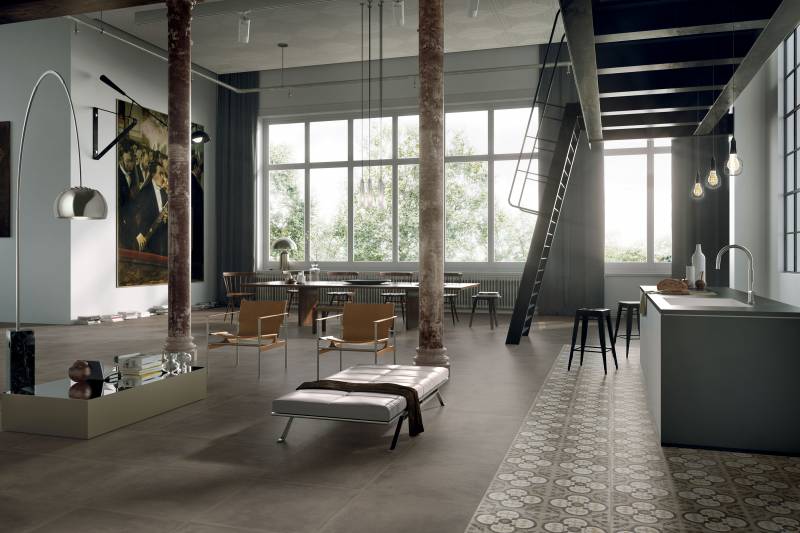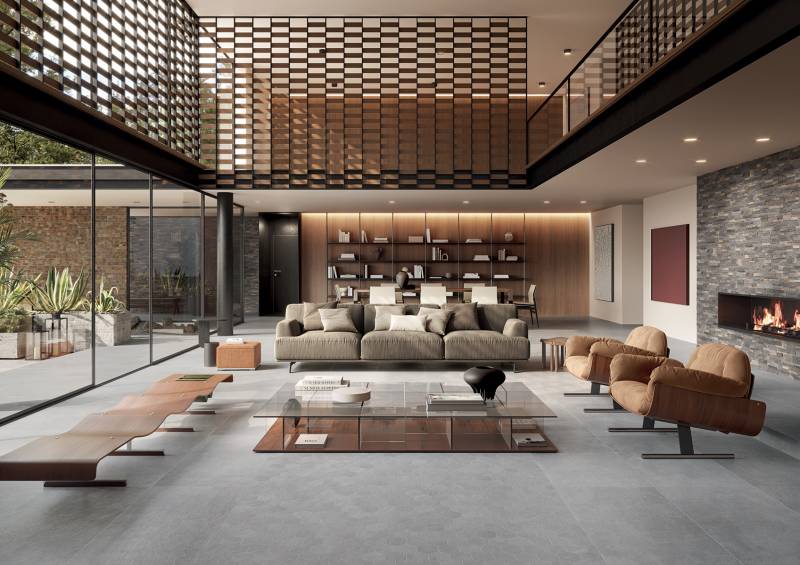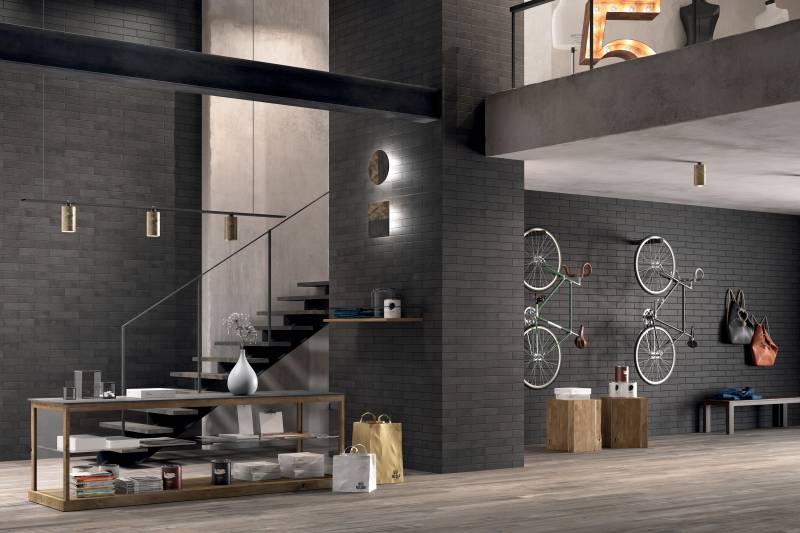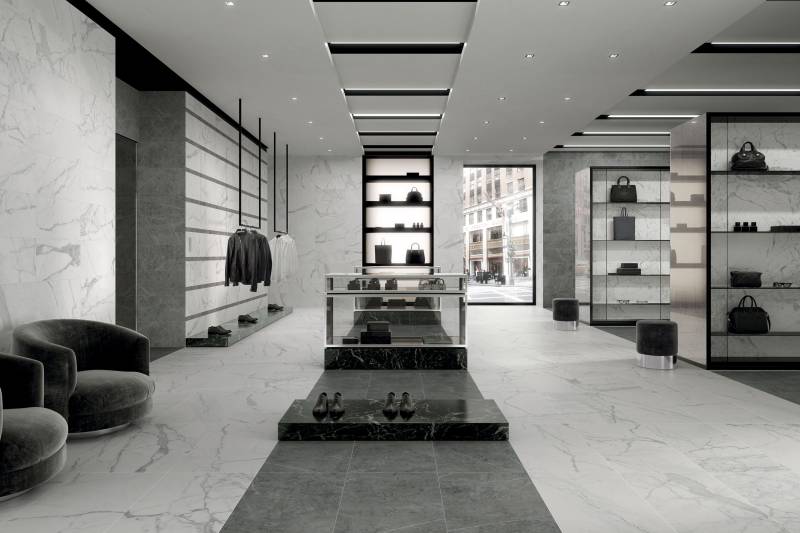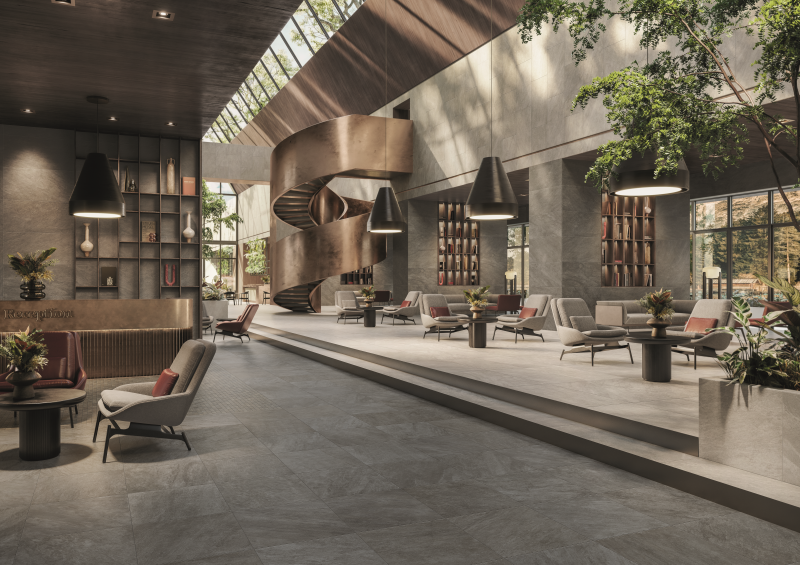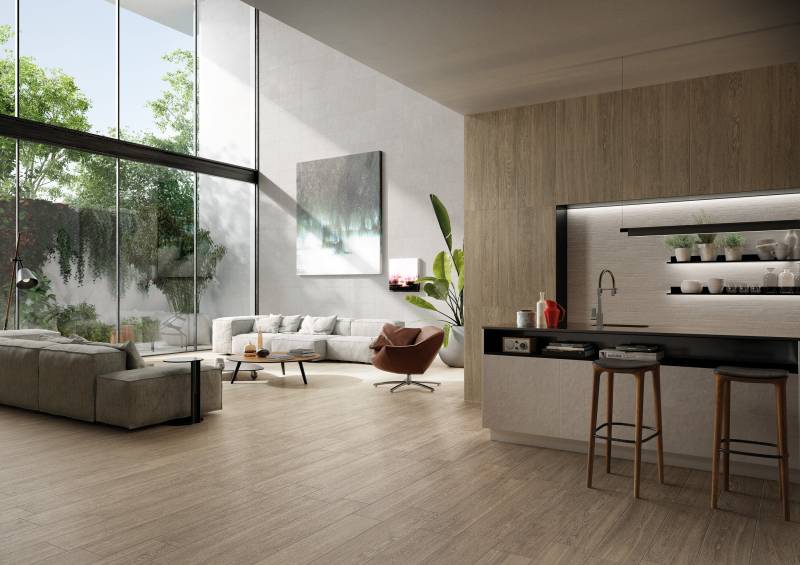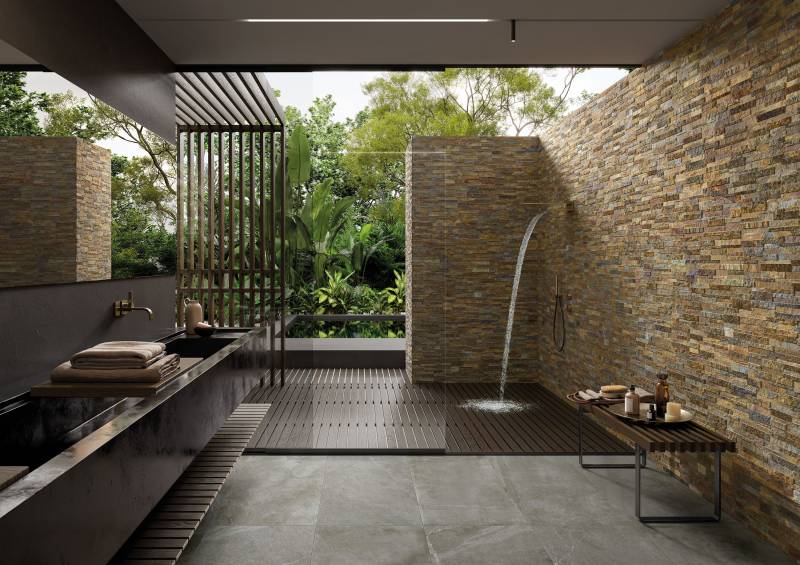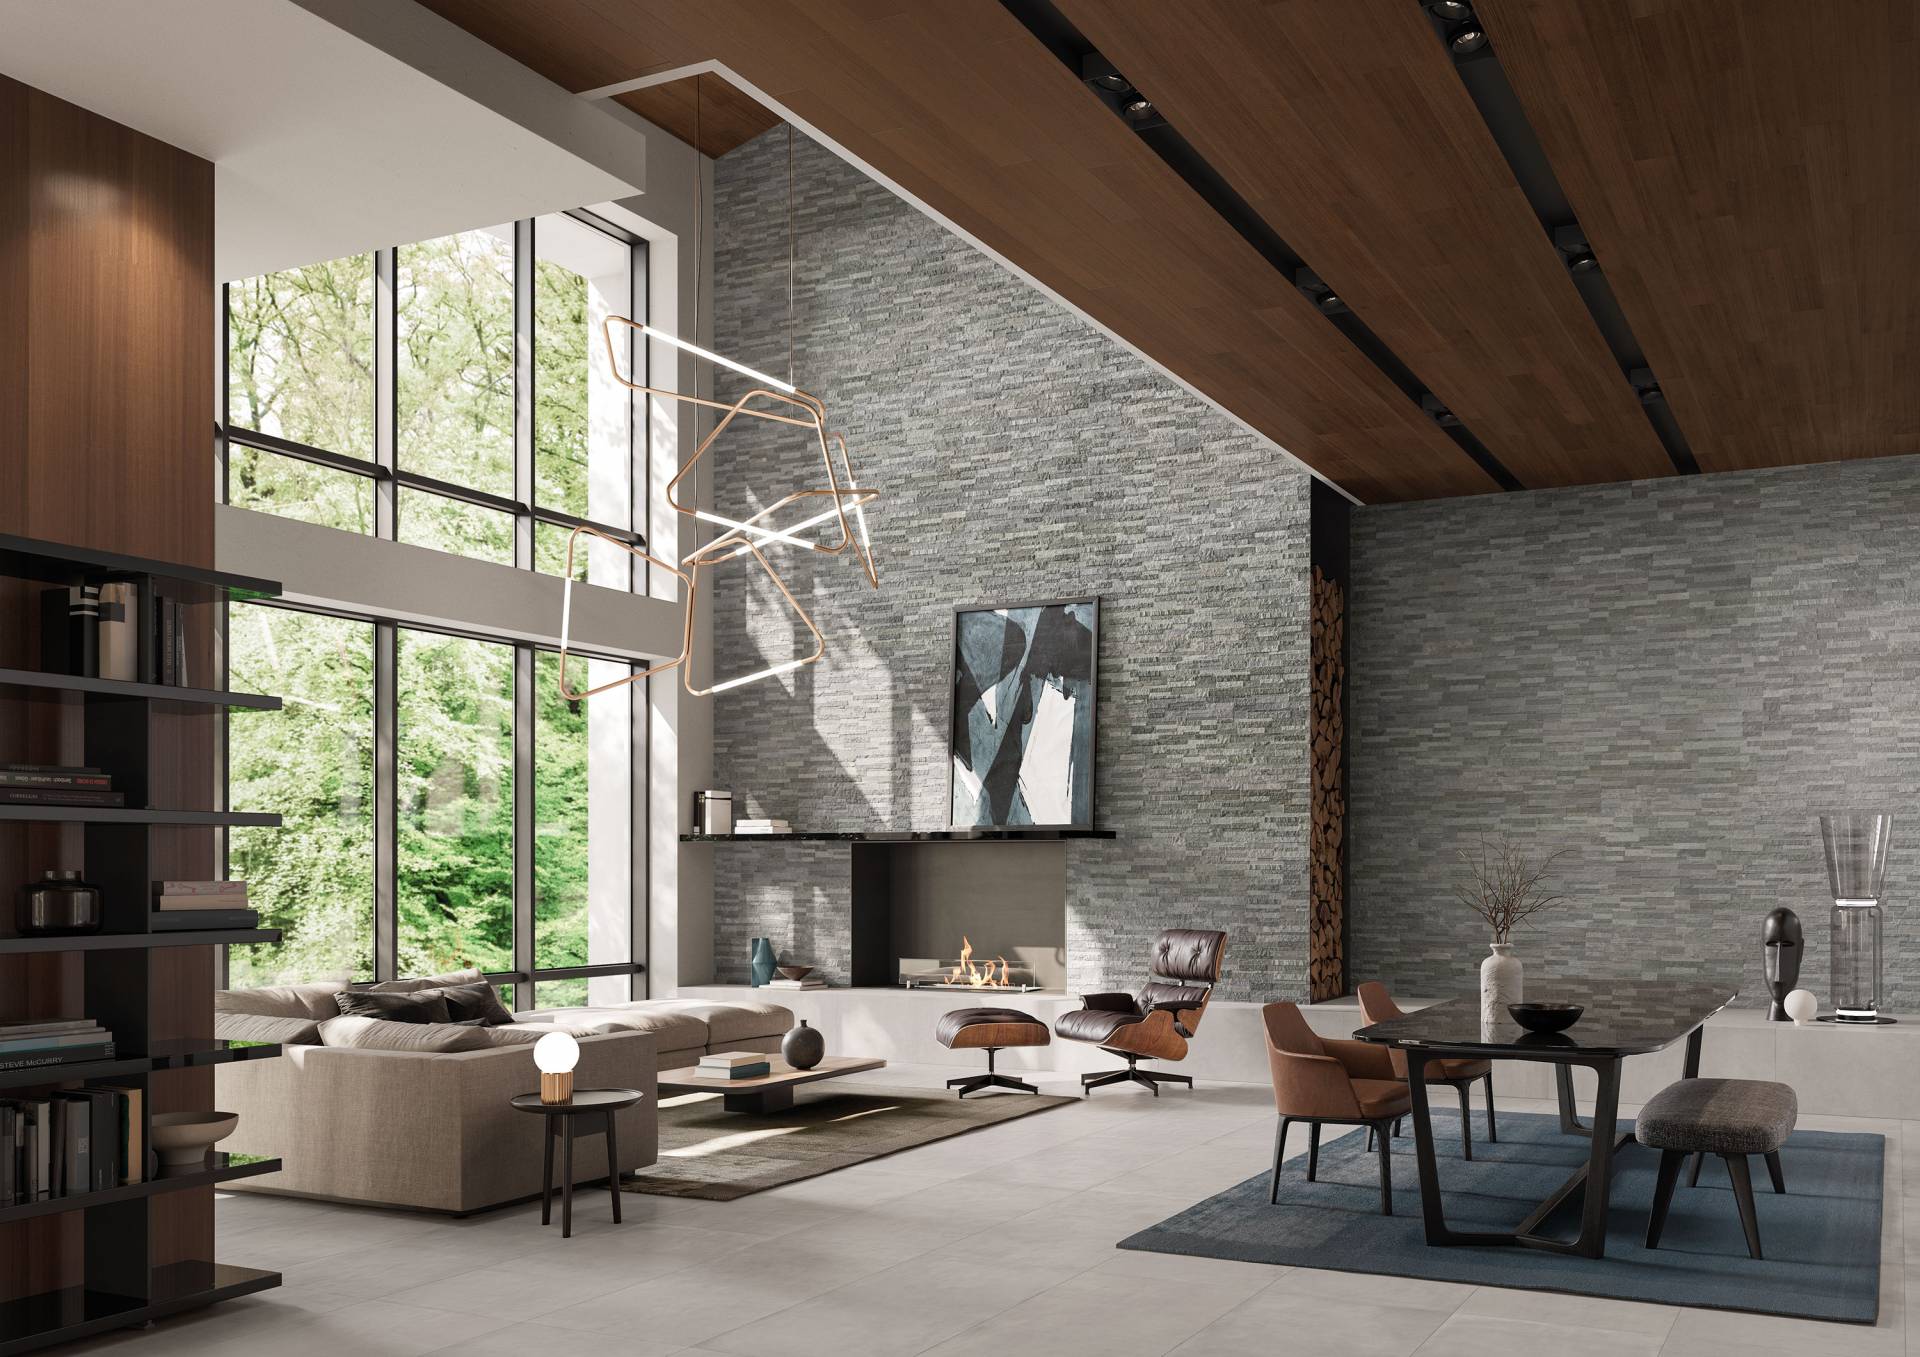

The future of tradition
Smart Corner is a revolutionary system designed and manufactured by Landmark Ceramics to tackle the issue of covering corners and making easy to install Porcelain Veneers and Bricks on any kind of support.


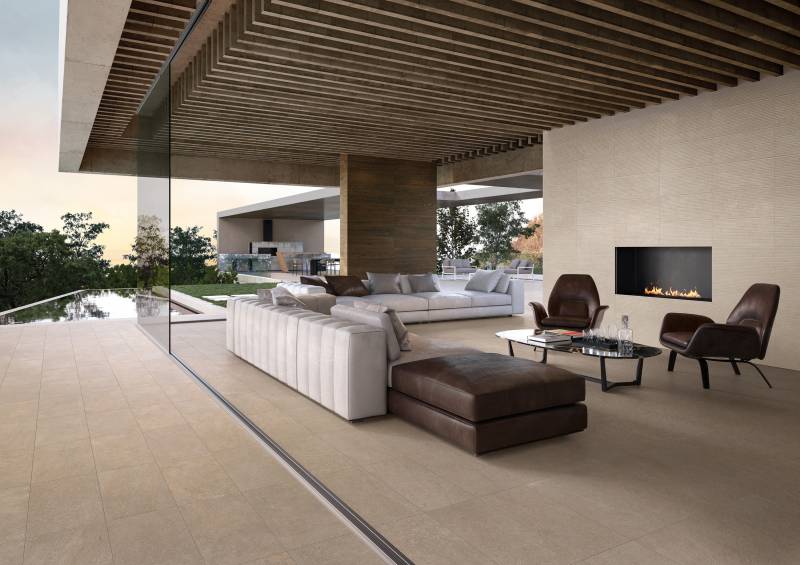
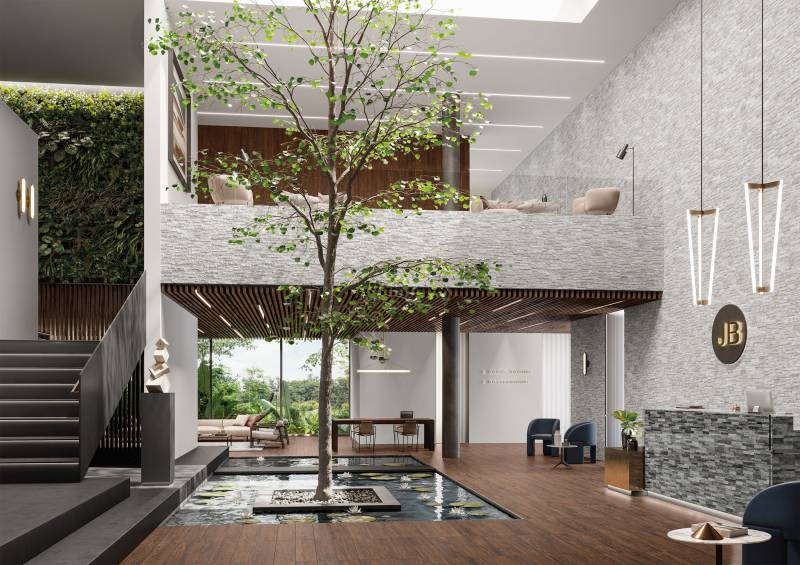
All around solutions
Corner is a revolutionary system and manufactured by Landmark s to tackle the issue of covering ers and making easy to install n Veneers and Bricks on any kind of support.

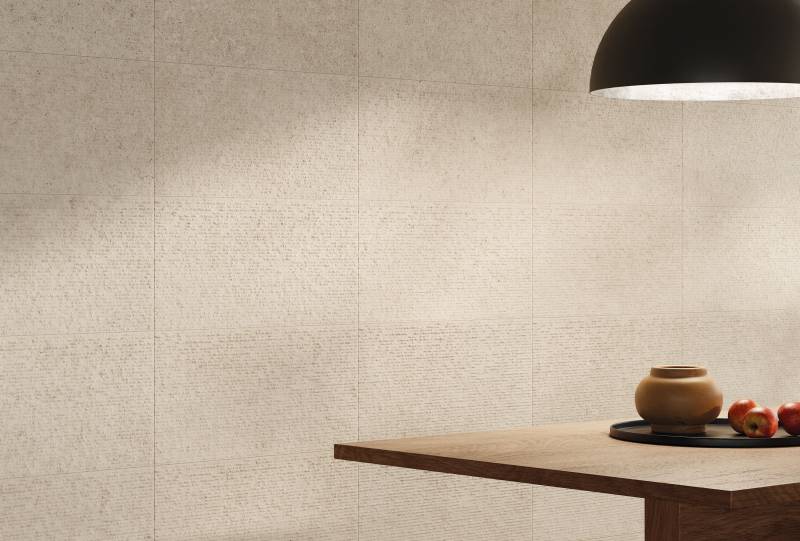
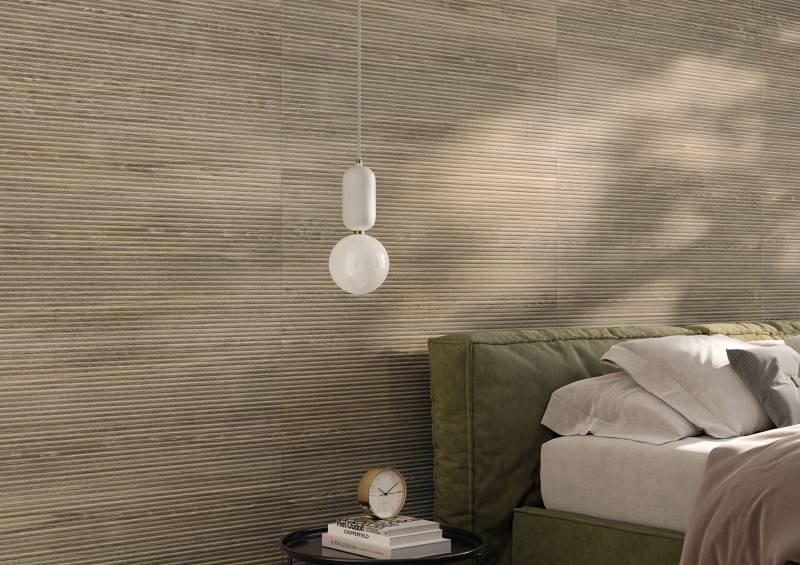
Renewed Tradition
Smart Corner is born from the traditional processing of ceramic 45 degree miter cut, also known as “Jolly”, for internal and external applications. Smart Corner was adapted to the specific needs of outdoor and indoor wall installation for Veneers and Bricks.

Ease Of Mind
Smart Corner is easy to use and practical to apply following standard installation procedures for Porcelain Veneers or Bricks.

The System
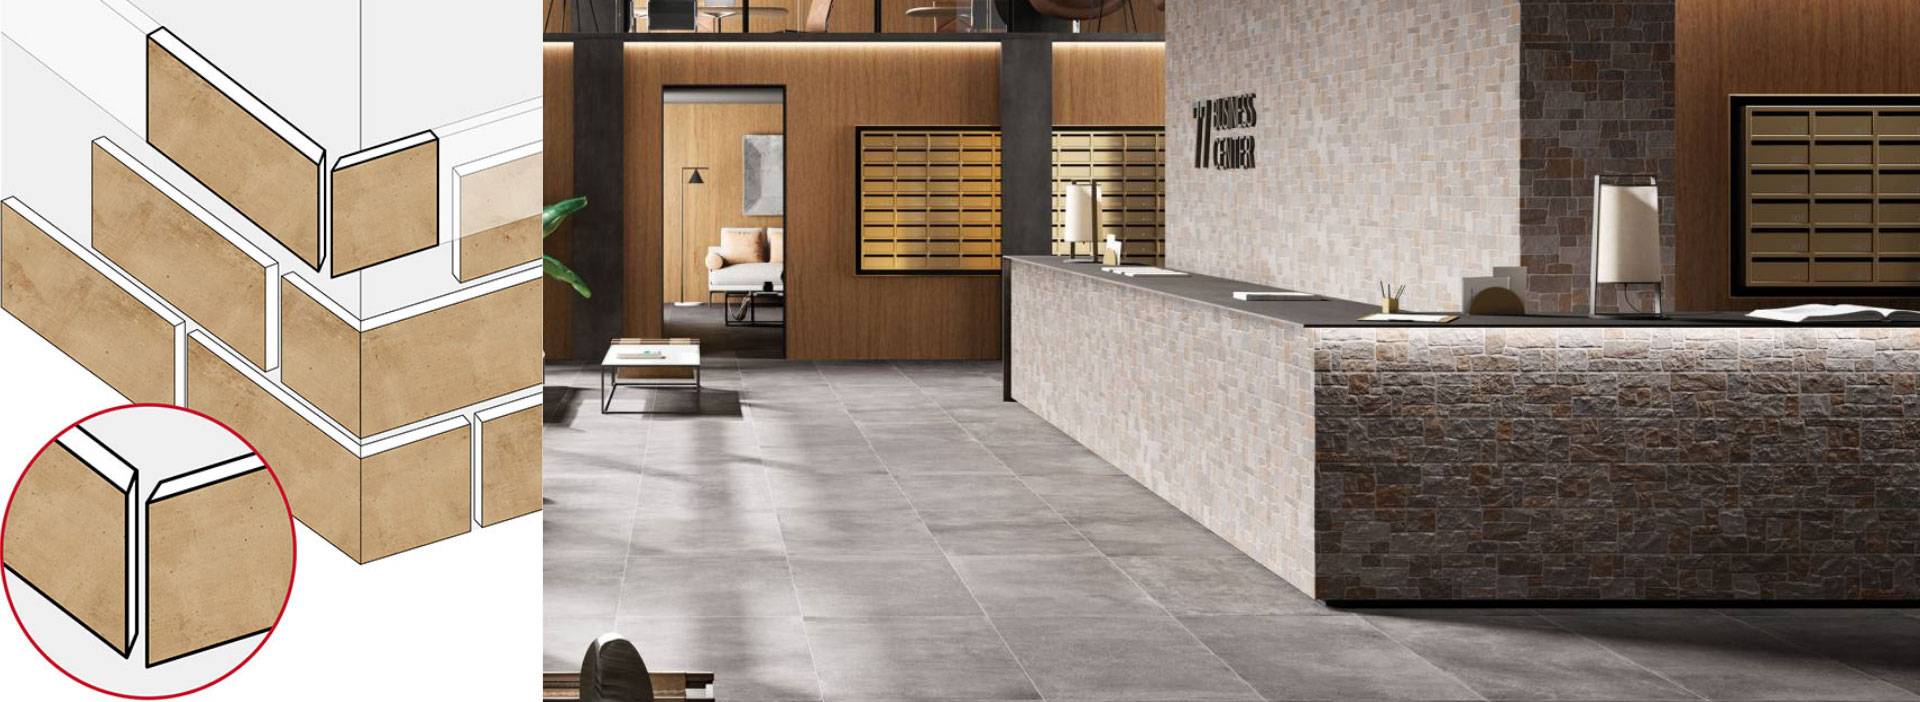
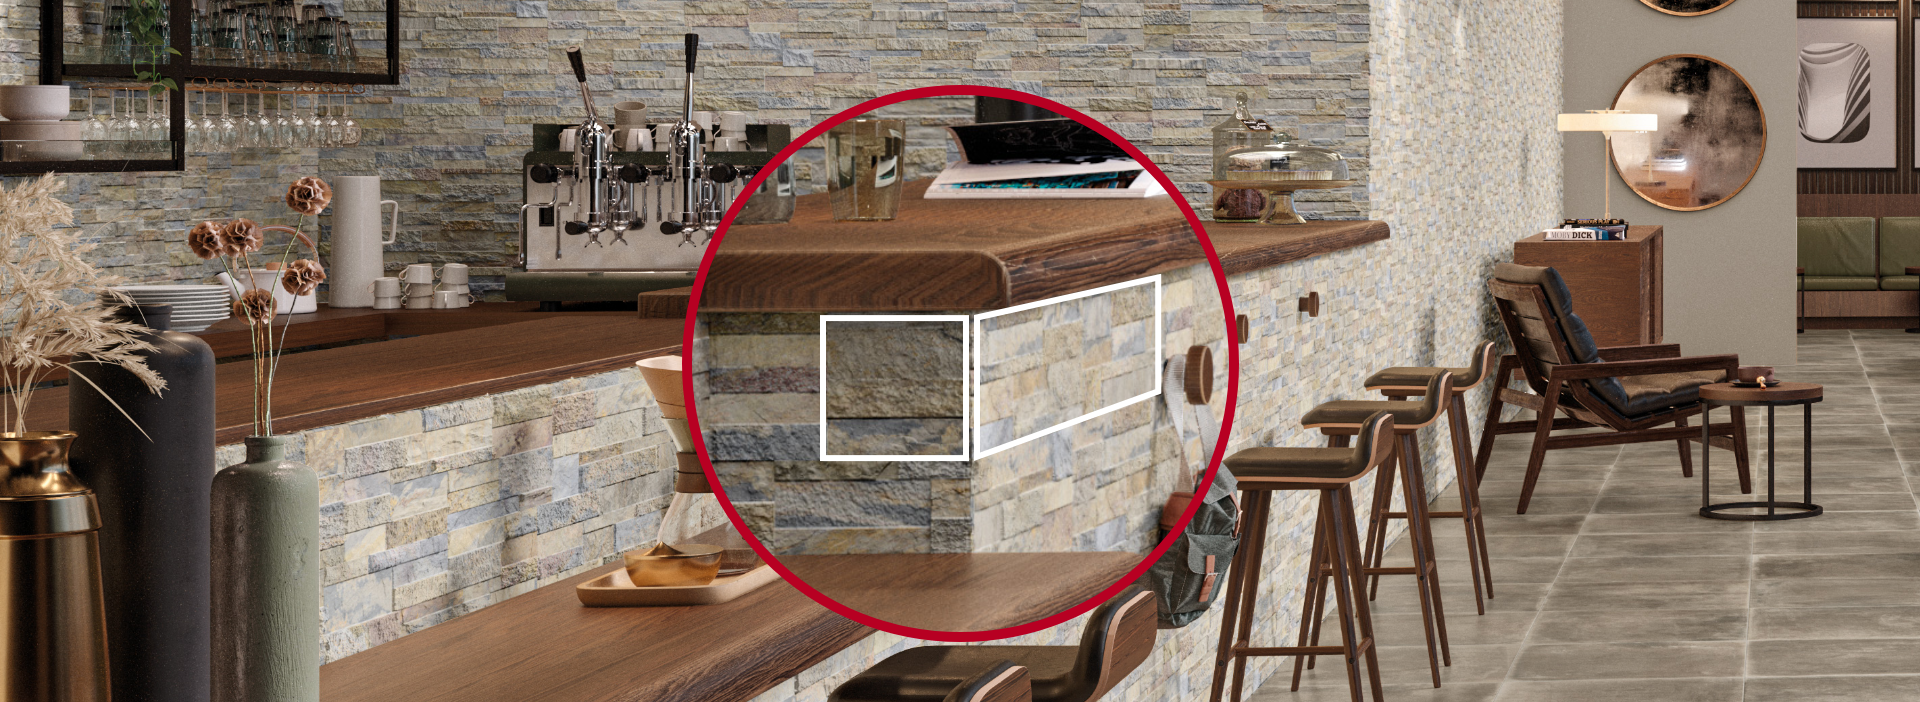
Smart Corner is comprised of a piece set with special 45 deg miter cuts on both sides, to e connect surfaces on any cor
All around solutions
Corner is a revolutionary system and manufactured by Landmark s to tackle the issue of covering ers and making easy to install n Veneers and Bricks on any kind of support.
Renewed Tradition
Smart Corner is born from the traditional processing of ceramic 45 degree miter cut, also known as “Jolly”, for internal and external applications. Smart Corner was adapted to the specific needs of outdoor and indoor wall installation for Veneers and Bricks.
Ease Of Mind
Smart Corner is easy to use and practical to apply following standard installation procedures for Porcelain Veneers or Bricks.
The System
Smart Corner is comprised of a piece set with special 45 deg miter cuts on both sides, to e connect surfaces on any cor
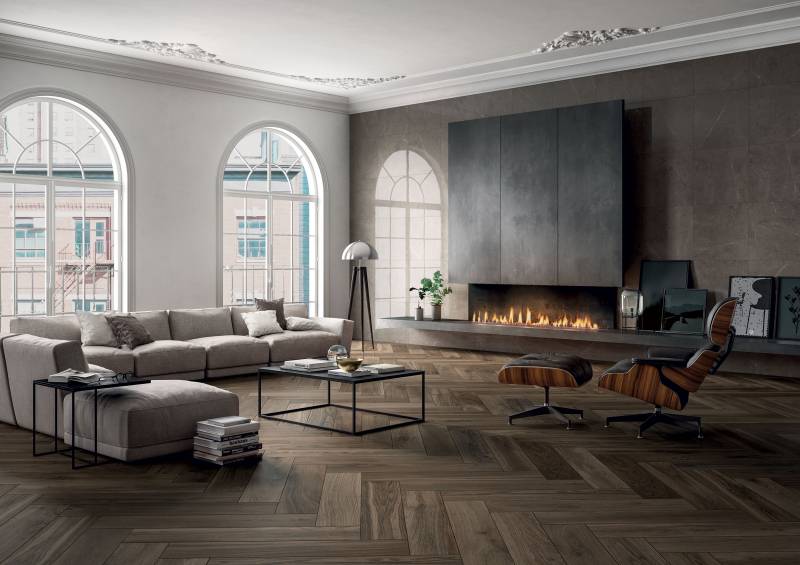
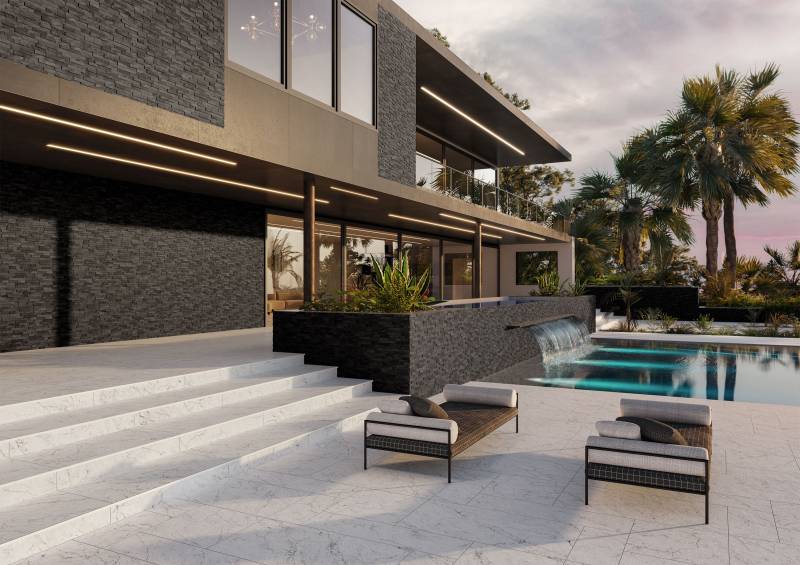
Everywhere, effortlessly.
Smart Corner is born from the traditional processing of ceramic 45 degree miter cut, alsoknown as “Jolly”, for internal and external applications. Smart Corner was adapted to thespecific needs of outdoor and indoor wall installation for Veneers and Bricks.

Smart Corner does not crack and is a reliable solution, even in the event of gradual house movements resulting in small joint openings over time. Simply fill them up with outdoor grout specific for porcelain.

Smart Corner is the ideal solution for every out-of-square wall. It is the perfect choice to work on corners, regardless of their angles, simply by opening or closing the two-piece set.

Smart Corner is made of porcelain, a very easy to cut material if using appropriate tools such as a water saw cutter.

ZERO VOC & PVC
Porcelain veneer is completely PVC and VOC (volatile organic compound) free that means a healthier home for you.

UV resistant
Porcelain veneer is fired at 2500 degrees which allows it to resist to sun light and UV rays without being effected in any way, even when exposed to the worst solar heat conditions.

Stain Resistant
Porcelain veneer is a very reliable, hygienic, and easy-toclean material that will never be affected by any permanent type of stain

Fire Resistant
Porcelain veneer doesn’t burn, melt or give off toxic fumes when exposed to fire.
ZERO VOC & PVC
Porcelain veneer is completely PVC and VOC (volatile organic compound) free that means a healthier home for you.
UV resistant
Porcelain veneer is fired at 2500 degrees which allows it to resist to sun light and UV rays without being effected in any way, even when exposed to the worst solar heat conditions.
Stain Resistant
Porcelain veneer is a very reliable, hygienic, and easy-toclean material that will never be affected by any permanent type of stain
Fire Resistant
Porcelain veneer doesn’t burn, melt or give off toxic fumes when exposed to fire.
Porcelain Veneers Smart Corner Installation (*)
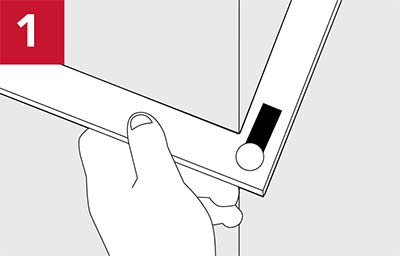

Measure the corner to get a better idea of its shape and exact angle (under or over 90 degrees).
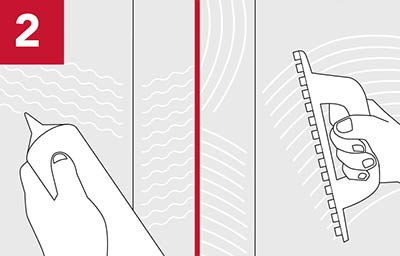

Apply adhesive on both sides of the corner. Make sure both to only use adhesive specific for porcelain outdoor applications and to comply with all installation requirements, depending on the type of substrate (**).
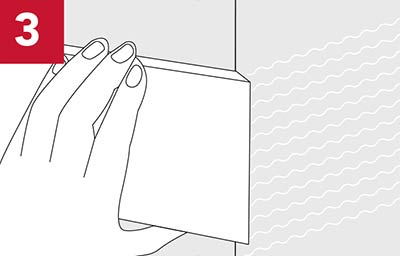

Place the first piece of the set on one side by keeping the miter cut close to the angle. Wiggle a little when pushing the porcelain Veneer into the adhesive.
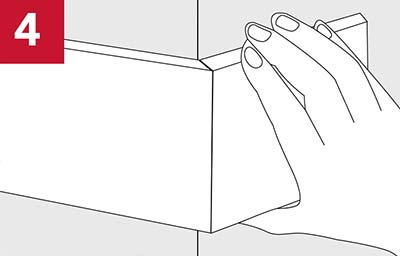

Place the second piece of the kit keeping the miter cut close to the angle, thus kissing the other miter cut on the other side of the corner or leaving a small joint to be filled with grout for outdoor porcelain.
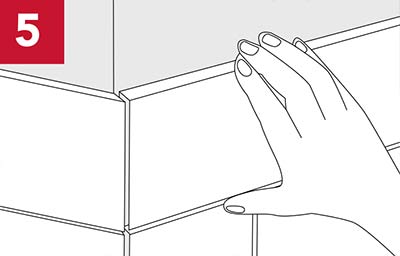

Keep moving up by alternating long pieces to short pieces to have a running bond installation. Then proceed installing porcelain Veneers along the walls.


Once the whole Veneers installation is completed, fill any opening – should there be any – with grout joints for outdoor porcelain.
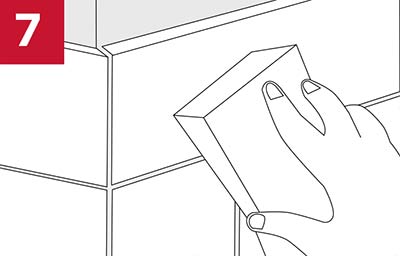

Once the grout joints are dry, clean with specific cleaner for porcelain and rinse thoroughly. In case movements of the building cause a small vertical crack along the corner, just fill the crack with new grout.
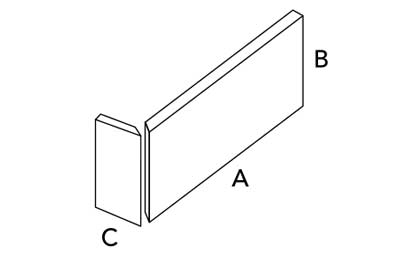

Smart Corner (***) Porcelain Veneer A = 20.5” B = 6” C = 2.75”
(*) these instructions just explain how to properly install the Smart Corner. Always refer to our porcelain Bricks installation guide, for a complete set of installation tips, recommendations and instructions
(**) for more information see our porcelain Veneeers installation guide
(***) Nominal size: 20.5”x5.8”x2.75”
(**) for more information see our porcelain Veneeers installation guide
(***) Nominal size: 20.5”x5.8”x2.75”
You might also like